colorado sorings designer · colorado springs interior designer · Custom Artwork · DIY · DIY wall art · fabric wall art · family room decor · family room makeover · Home Decor · Interior Design · modern farmhouse · small business owner · wall art · women owned business

Fabric Remnant to Wall Art DIY

I fell in love with this piece of linen fabric and immediately saw a masterpiece of artistry in the block print pattern. I decided to frame it. I purchased a poster frame (yes, that lovely gold frame is actually a poster frame from Target) and used Velcro tabs to adhere the linen fabric to a piece of plain white fabric, then I framed it with the gold frame. What do you think? Can a gorgeous fabric remnant become a beautiful piece of wall art? I think so!

The original piece of fabric
Christmas Decor · Christmas Decorating · DIY · Home Decor · Interior Design · modern farmhouse

Adding Live Cedar to a Flocked Tree

Adding live cedar sprigs to my flocked pencil tree for added definition and a touch of green.
The end result
I also added live cedar sprigs to a little faux tree. I love how much better it looks.
custom wall art · DIY · family room decor · Living room decor · succulent wall art

Succulent Wall Art DIY

I have been working on a new project for a client building a large piece of natural wood and succulent wall art. Finally….we are completely finished and ready to deliver and mount on this baby on the wall. This succulent wall art is going to be the focal point on an accent wall in a new build I’ve been decorating for a bachelor. I like it so much I think I might make one for my own house.

Constructing the frame….
The frame is stained and ready for the succulents, moss and natural wood elements to be added.
The end result……
Uncategorized

DIY Faux Marble Carrara Countertop

I really, really love Carrara marble. I don’t love the price tag, but who does? I decided to try painting my existing countertop and using an Epoxy coating. I had a 90’s guest bathroom that I’ve hated since we moved into our house. I decided to take down the ginormous 90’s mirror, change the lighting and faucet and update the countertop. I’m not quite through with this mini renovation but it’s coming along nicely.

This is my ugly 90’s guest bathroom before I started.
This is the vision for our updated guest bathroom.
Here is a short video of how I applied the epoxy glaze.
This is the “AFTER” photo.
The end result of our guest bath makeover. I wanted to remove the built in cabinet on the left side wall but wasn’t able to at this juncture. We are happy with the final results. On to the next project! 😊
DIY · Fall decor · Fall Decorating · family room decor · Farm House · Farmhouse · Front porch decor · front porch decorations · Home Decor · home staging · Interior Design · Living room decor

Fall Decorating

I love the onset of fall. It’s my favorite season…. sweater weather, boots, bon-fires, leaves changing, pumpkin spice everything, rich warm toned colors…. what’s not to love? I’ve started decorating my home and front porch for fall. I’m leaning toward the “less is more” simplicity this year. I feel like it gives touches of seasonal vibes while maintaining some elegance.

DIY · Farm House · Home Decor · Interior Design · Master bedroom · Mater Bedroom · Shabby Chic

This Master Bedroom Has The Blues!

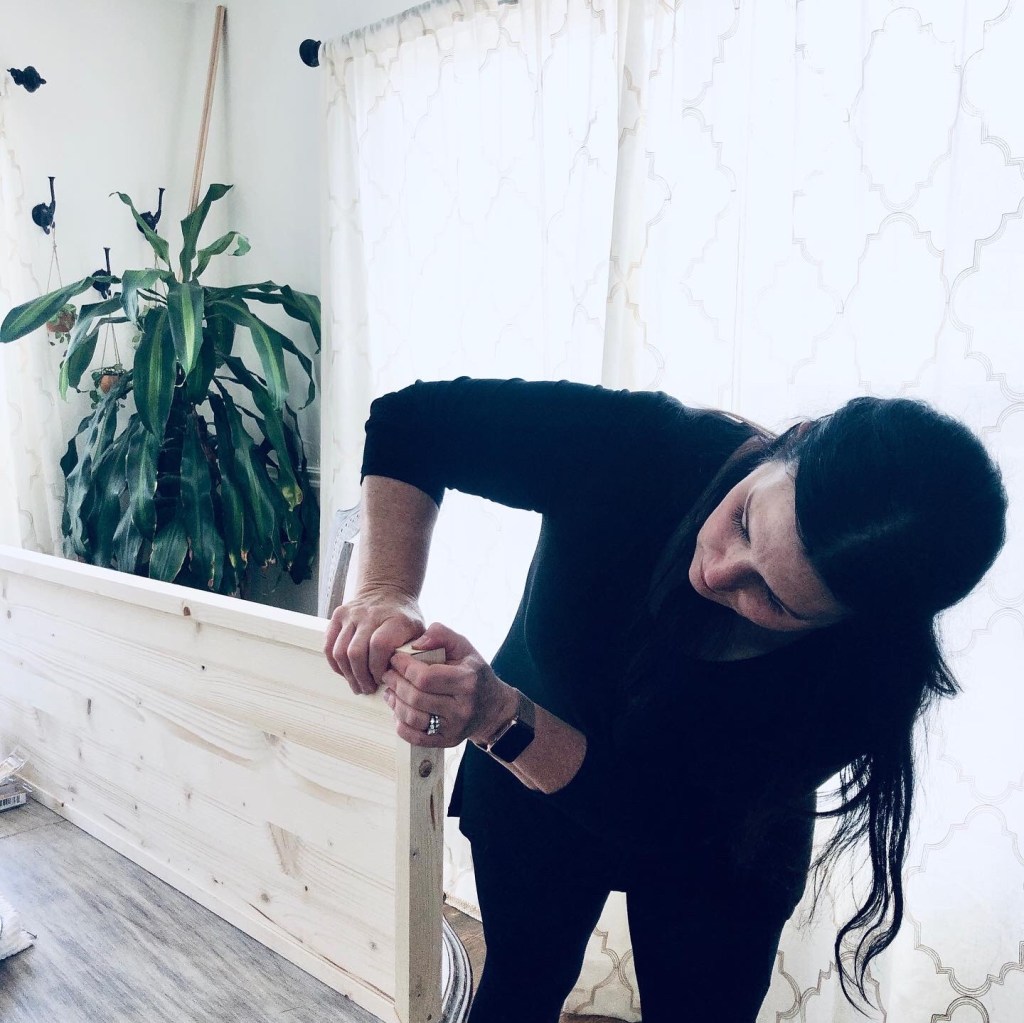
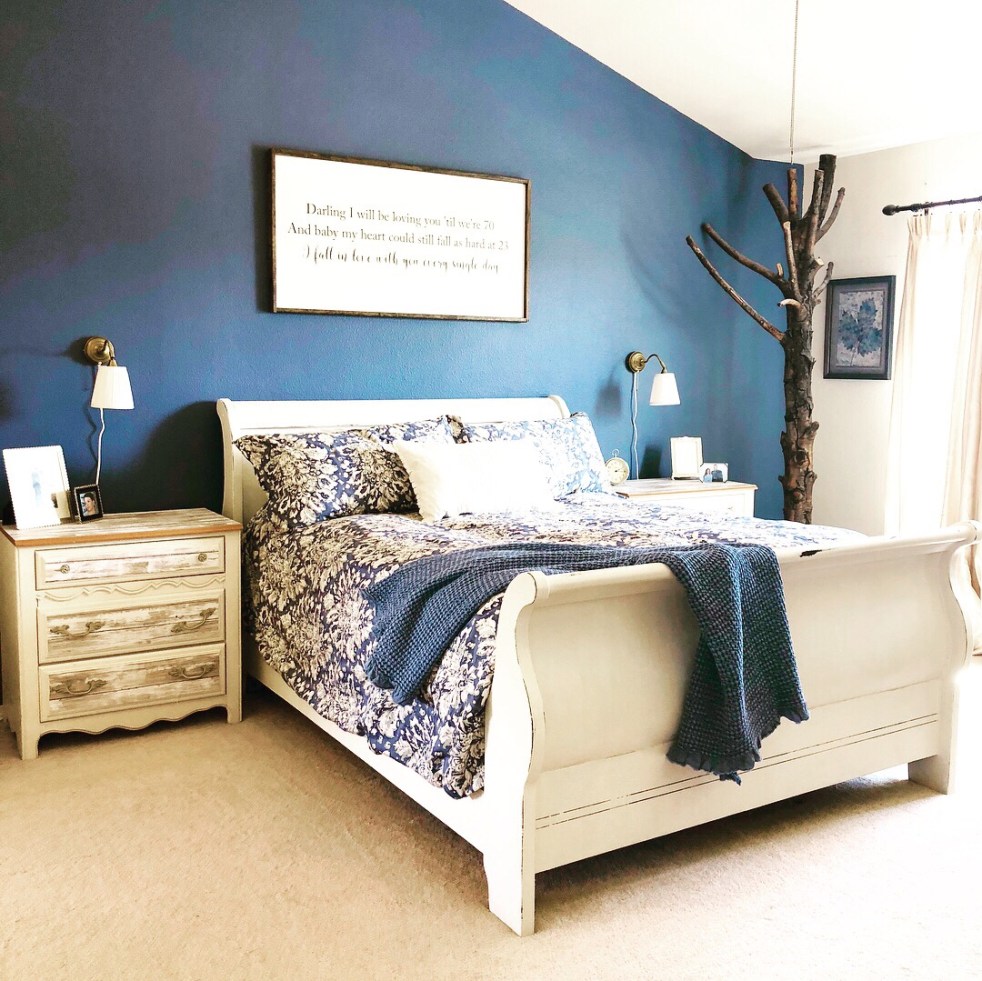
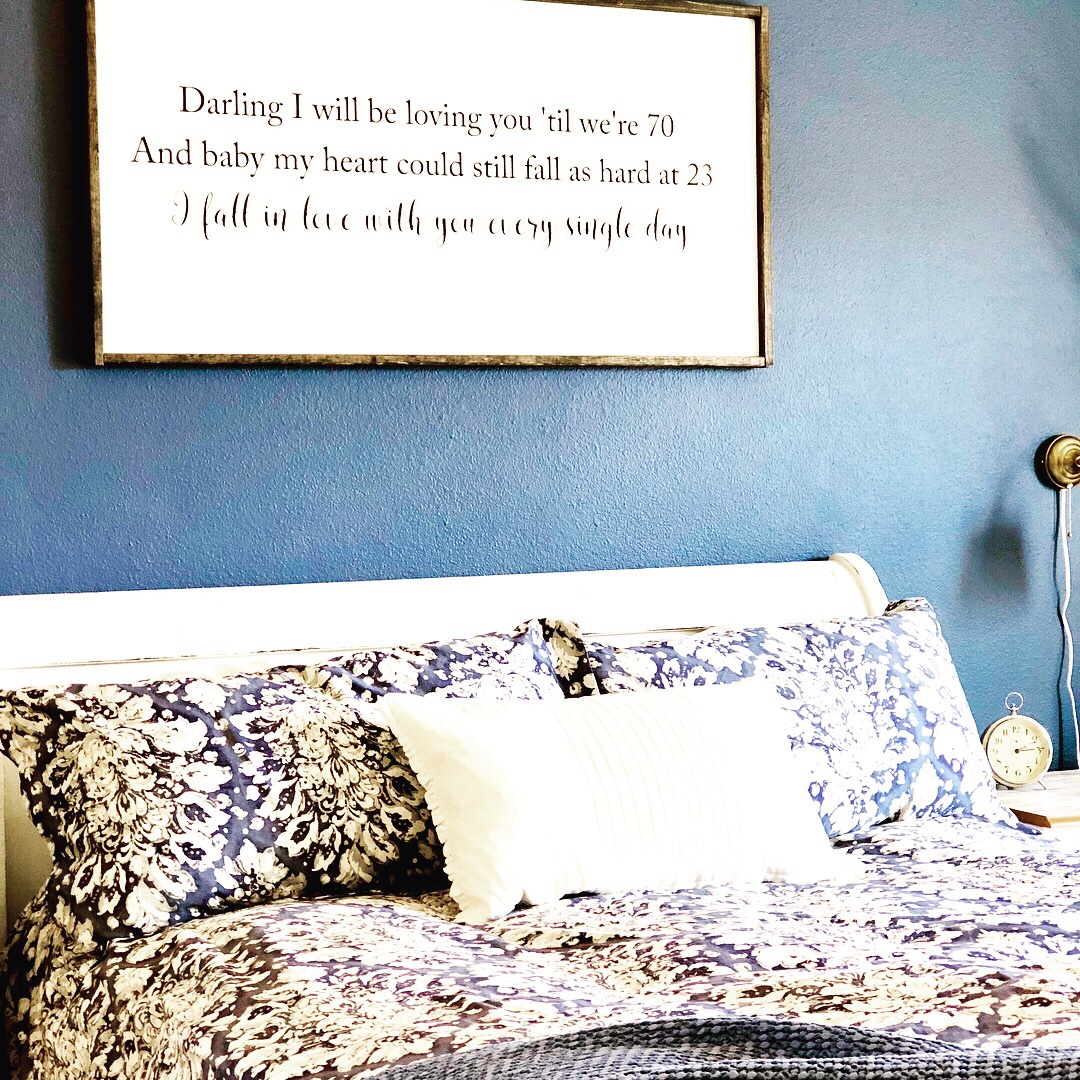
I’ve been working on finishing our master bedroom. For some reason this is the space that I neglect the most. The rest of the house seems to be a priority and our bedroom comes last. I don’t know why. Lol. I’ve painted the sleigh bed and an accent wall, ordered the custom sign from #qbhome and redesigned the night stands. It’s a work in progress. 🙂 Slowly but surely….

Area Rug Bliss · Custom Design · DIY · Home Decor · home staging · Interior Design · Living room decor

End Table Redesign

I found this little end table at Ross and bought it because I liked the lines of the base/legs. But I wasn’t in love with the very plain tabletop so I added a tray as the top instead! I found this sweet, wooden tray at Pottery Barn and it fit perfectly. I think it really finishes off the table and adds some unexpected character! What do you think?

Custom Design · DIY · Home Decor · Interior Design

Modified Wine Crate

Look at this beautiful wine box holder! This is for a client of mine. We had been looking everywhere for one of these. I found the perfect crate @homegoods last week and had a friend of mine make the wooden slats to hold wine. He did a great job!

Fall Decorating · Front porch decor

Easy, Inexpensive Front Porch Decor For Fall

What do you get when you combine a $1 plastic Jock-o-lantern and $5 Mums? A fun and whimsical front porch decoration. Look for the easy instructions below!

First, I purchased 2 plastic jack-o-lanterns for $1 each. Then I found the Mums that I wanted to use. I found them for $4.95 each.

Next, I spray painted the jack-o-lanterns with a bronze spray paint I already had- and let them dry thoroughly. You could use any spray paint color you want to or you could leave them orange. Then, I cut the plastic container from the mums so I could slide them into the jack-o-lanterns.

I have two large planters on either side of my front door and chose to set the mums on top of them. But, you could use them anywhere. You could also choose different sizes and group them together. I think these would make great gifts too!

DIY

Light-weight Sliding Barn Door


IMG_0471

Our house has an awkward guest 1/2 bathroom/laundry room on the main floor.  These two spaces were divided only by a 1/2 wall, partially concealing the washer and dryer.  Our guests got a clear view of all “our dirty laundry” lol. I don’t know about you, but I have 3 boys and a husband, which equates to a massive amount of weekly laundry!  My laundry room is only free from baskets of dirty clothes before expected company, haha!  I had been trying to think of a way to add some sort of door between these two spaces without taking up a lot of room and it had to have some aesthetic appeal.  I really wanted a sliding barn door but ran into some problems with how to hang one due to the half wall.  I would have to hang the sliding door mechanism from the ceiling in order for the door to work.  I purchased an antique door that I really wanted to use but it was too heavy to hang from the ceiling.  My in-laws were visiting when I was trying to mastermind my sliding barn door plan.  They told me it “wasn’t possible”.  Oh, no!!  Those words just make my personality take on a challenge, lol! My husband was shaking his head when he heard them tell me it “wasn’t possible”, lol! Now I was on a mission and needed to figure out a way to build a lightweight barn door myself.  I went to local hardware stores several times to peruse wood and lumber before I discovered Pine Plank Paneling!  Pine Plank Paneling is also inexpensive ($9 for a package of 6 3.5″ x.8 ft panels).  The price was an added bonus!!  The plank paneling would work perfectly!

IMG_0018

Pine Plank Paneling is super lightweight, you can paint it or stain it any color you want and they interlock like laminate flooring.  I measured the size of my doorway and cut the paneling to fit the length and width I needed.  I used a nail gun to secure the planks together.  Next I needed to add trim to get the barn door look without adding any extra weight to the door.  I used lattice for this. Yep, plain old lattice.  You can find packages of lattice wood to repair existing lattice at hardware stores.


Then I added some hardware for the door (which I also found at a local hardware store) and stained the door using Minwax Classic Gray Stain.  The total for this barn door was around $50 to build.  I attached it to the ceiling using plumbing pipes threaded through eye hooks.  I got the idea to hang my barn door here: http://theturquoisehome.com/diy-simple-sliding-barn-doors/  But instead, I hung our door from the ceiling rather than the wall.


IMG_0079

I love the look of this sliding barn door and it separates our guest 1/2 bath from our laundry room perfectly.  We get a lot of compliments on this door and it has withstood the daily use of 3 boys without issue! That’s a sturdy door, Haha!  Here is a “before and after” photo of the finished door with stain.  What do you think?

IMG_1739